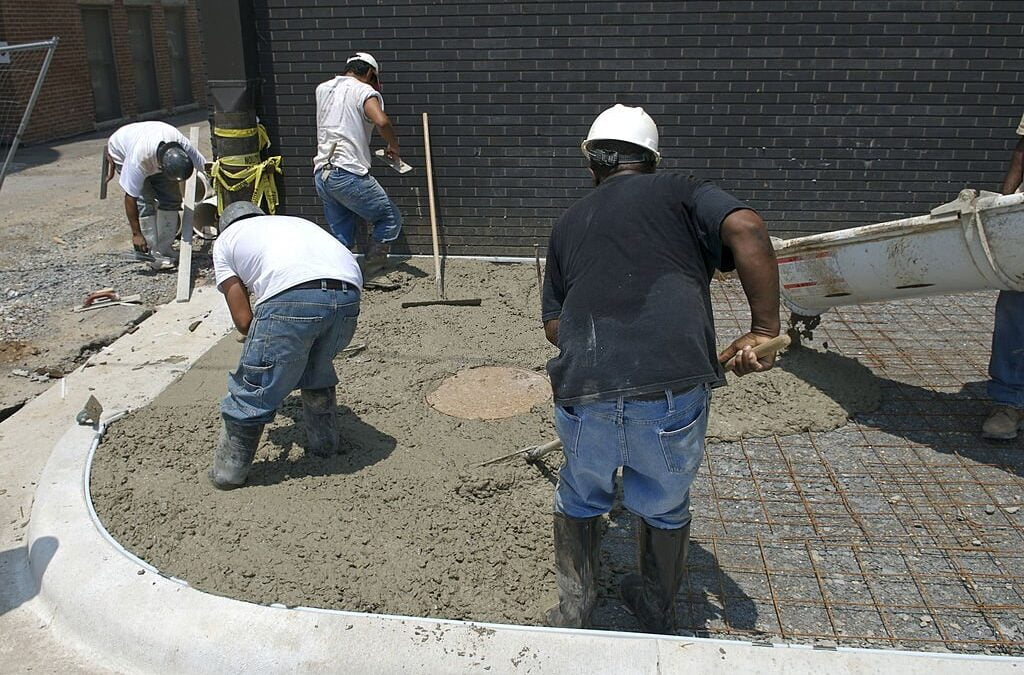
When it comes to concrete repair, you want to make sure the job is done right. But how do you know what is the best way to go about it? The pros know exactly what to do and what not to do when it comes to fixing up your concrete. Here we’ll look at the dos and don’ts of concrete repair, so you can get professional results without having to hire a pro. Whether you’re patching up cracks or repairing an entire driveway, these tips from experienced professionals will help ensure that your concrete repair project turns out just as planned. We’ll walk you through the steps so you can get the job done correctly and safely. So let’s get started!
Preparing The Concrete For Repair
Before you can begin any concrete repair, it’s important to prepare the area in question. Start by removing any existing sealer or paint. This can be done with a pressure washer or sandblaster. You should also remove any dust, dirt, and debris from the surface of the concrete before beginning repairs. Once this has been done, you’ll need to check for any existing cracks or holes. If there are any, they should be filled in with an appropriate patching material.
Make sure to use a material that is designed specifically for use on concrete surfaces so that it will adhere properly and last longer than other materials. It’s also important to make sure that all repairs are made using proper techniques and tools so they don’t leave behind unsightly marks or damage the surface of the concrete further down the line.
Choosing The Right Repair Materials
It’s easy to feel overwhelmed when selecting the right repair materials for concrete. After all, there’s an abundance of products on the market that promise excellent results. But don’t worry – help is here! With these do’s and don’ts from the pros, you can choose the right material for your project quickly and easily. For most basic repairs, a standard cement mix should suffice. You’ll also need to use a bonding agent if you’re patching existing concrete or filling in gaps before repaving.
Be sure to follow the manufacturer’s instructions when mixing and applying these materials, as they are often temperature-sensitive and require specific curing times. If you’re working with older concrete, it may be beneficial to use an epoxy-based repair product for superior adhesion and strength. Finally, any repairs should be inspected regularly to ensure they remain in good condition over time.
Applying The Repair Materials
The key to a successful concrete repair is applying the repair materials correctly. First, you must prepare the area that needs to be repaired. This includes removing any loose or damaged material, cleaning the surface, and making sure it’s completely dry before proceeding. You should also make sure that the existing surface is level before beginning your repair job. Once the area is prepared, you can then apply your chosen repair material.
Be sure to follow all manufacturer instructions carefully and use the right tools for the job.
If needed, any additional layers of the material can be applied once the first layer has dried completely. Always allow ample time for curing between each layer of material you apply so that your work lasts longer and will not crack or come apart over time.
Doing concrete repairs yourself is a great way to save money and get the job done right. Taking the time to properly prepare your concrete surface, choose the right materials, and apply them correctly will ensure that your project lasts for years to come. With these tips from the pros, you’ll be able to complete your concrete repair project with confidence and ease.
If you’re in need of professional concrete services, look no further than Gatlinbyrd Cement. As a trusted concrete company and contractor, we have the expertise to handle all your concrete repair needs, big or small. Whether you’re patching cracks, resurfacing a driveway, or tackling a larger project, our team of concrete contractors can get the job done right. Contact Gatlinbyrd Cement today to learn more about our comprehensive concrete services and how we can help transform your space.
Contact Us Now
Frequently Asked Questions
How can I identify the type of damage on my concrete surface?
Look for common signs such as cracks, spalling, scaling, and discoloration. Each type of damage requires a different repair approach, so accurate identification is crucial.
What tools do I need for concrete repair?
Essential tools include a pressure washer or sandblaster, a trowel, a concrete mixer, a hammer and chisel, a bonding agent, and protective gear such as gloves and goggles.
How do I prepare a concrete surface before repairing it?
Remove any sealers, paint, dust, dirt, and debris. Clean the area thoroughly and fill any existing cracks or holes with a suitable patching material designed for concrete.
What is the best material to use for patching cracks in concrete?
Use a high-quality cement mix for basic repairs, and consider an epoxy-based repair product for older concrete or for superior adhesion and strength.
How do I apply concrete repair materials correctly?
Follow the manufacturer's instructions carefully. Ensure the surface is clean and dry, apply the repair material evenly, and allow sufficient curing time between layers.
Can I use regular cement for all types of concrete repairs?
Regular cement is suitable for many repairs, but for specific situations like older concrete or large cracks, you may need specialized materials like epoxy-based products.
How long does it take for concrete repair materials to cure?
Curing times vary by product and environmental conditions, but most materials require at least 24-48 hours. Always check the manufacturer's guidelines for exact times.

