Cracks in Concrete Driveways
Concrete driveways are subject to the rigors of weather, heavy vehicles, and the passage of time, which can lead to unsightly cracks. But fear not! Cracks in your concrete driveway can be repaired with the right tools and a little elbow grease. In this guide, we’ll walk you through the steps to effectively repair cracks in your concrete driveway, restoring its durability and appearance.
Step 1: Evaluate the Damage
Begin by assessing the size and severity of the cracks. Are they hairline cracks, or are they larger and deeper? This assessment will help determine the appropriate repair method.
Step 2: Clean the Cracks
Use a wire brush, broom, or even a pressure washer to thoroughly clean the cracks and remove any debris, dirt, or loose concrete particles. A clean surface is crucial for proper adhesion of the repair material.
Step 3: Choose the Right Repair Material
For hairline cracks and minor surface damage, a concrete crack filler or sealant can be effective. Choose a product that’s designed for outdoor use and matches the color of your driveway. For larger or deeper cracks, a patching compound might be necessary.
Step 4: Apply the Repair Material
For Hairline Cracks:
- Fill the crack with the chosen crack filler or sealant using a caulk gun.
- Smooth the filler using a putty knife or trowel to ensure it’s level with the surface.
For Larger Cracks:
- Mix the patching compound according to the manufacturer’s instructions.
- Fill the crack with the mixture, slightly overfilling to account for settling.
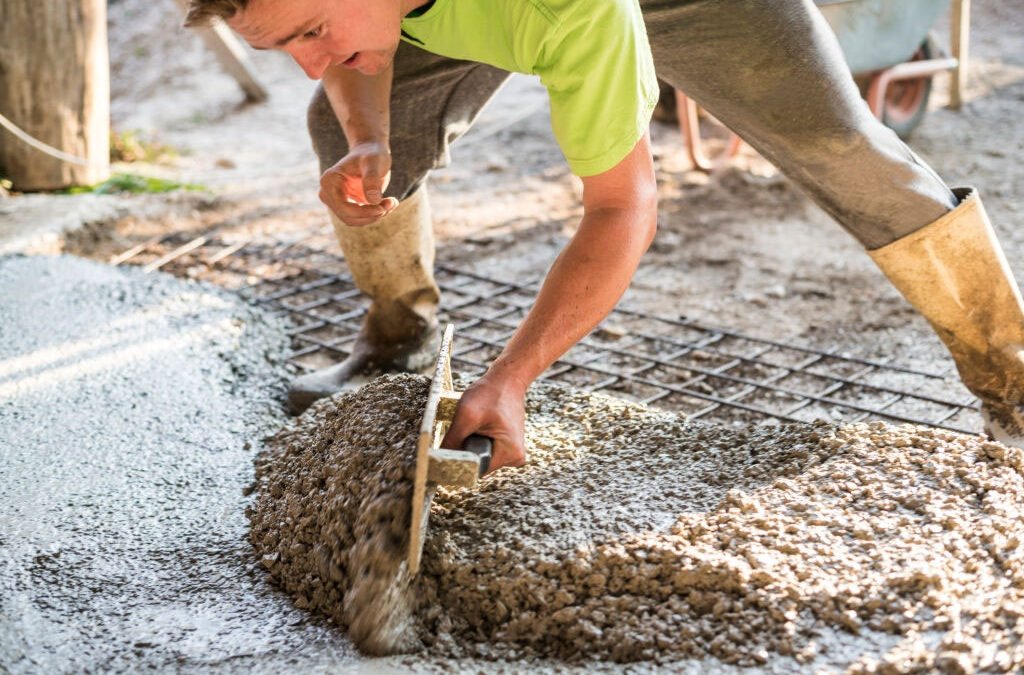
- Use a trowel to smooth the surface, blending it with the surrounding concrete.
Step 5: Allow for Curing
Let the repaired cracks cure according to the manufacturer’s guidelines. This typically involves keeping the repaired area moist and covered for a specific duration.
Step 6: Seal the Driveway
To protect your newly repaired driveway and prevent future cracks, consider applying a concrete sealer. This will help shield your driveway from moisture, freeze-thaw cycles, and general wear and tear.
Step 7: Regular Maintenance
To prolong the life of your concrete driveway and prevent future cracking, perform regular maintenance. Keep your driveway clean by sweeping it regularly and addressing any minor cracks before they become major issues.
Important Tips:
- Weather Conditions: Avoid repairing cracks in extreme heat or cold, as temperature extremes can affect the effectiveness of repair materials.
- Proper Mixing: If using a patching compound, ensure you mix it according to the manufacturer’s instructions to achieve the correct consistency.
- Safety: Wear appropriate protective gear, such as gloves and safety goggles, when working with repair materials.
- Professional Help: For extensive damage or structural concerns, it might be best to seek professional assistance.
In conclusion, repairing cracks in a concrete driveway is an achievable DIY project. By evaluating the damage, choosing the right repair material, and following the steps outlined in this guide, you can restore your driveway’s integrity and appearance, ensuring it serves you well for years to come.
Restore the Solid Path to Your Home
As a leading concrete company in Michigan, we have the expertise to tackle any concrete driveway repair or maintenance challenge. Whether you need to fill cracks, remove stubborn stains, or completely resurface your driveway, our skilled concrete contractors will work diligently to revive the beauty and integrity of your outdoor space.
Don’t settle for a cracked, discolored driveway that detracts from your home’s appearance. Reach out to the concrete service professionals at Gatlinbyrd Cement today. We’ll work closely with you to develop a customized solution that restores the solid path leading up to your front door. Contact us now to schedule a consultation and take the first step towards a driveway you can be proud of.
Frequently Asked Questions
What causes cracks in a concrete driveway?
Cracks can result from several factors including weather changes, poor concrete mix during installation, heavy vehicle use, improper subgrade preparation, or natural settling of the ground.
How do I know if a crack is too big to repair myself?
Generally, cracks wider than 1/4 inch indicate larger structural issues that might require professional assessment. However, smaller and non-structural cracks can typically be repaired DIY.
Can I repair cracks in my concrete driveway in any weather?
Optimal conditions for repairing concrete are dry weather with moderate temperatures. Avoid very hot or cold days, as extreme temperatures can prevent the repair materials from curing properly.
What materials do I need to repair small cracks in concrete?
For small or hairline cracks, you will need concrete crack filler or sealant, a caulking gun, and a putty knife or trowel for application.
How long does it take to repair a crack in a concrete driveway?
The actual repair can be completed in a few hours, but the total time including preparation, application, and curing can take several days depending on the product used and weather conditions.
How do I apply sealant after repairing the cracks?
Once the repair material has fully cured, clean the driveway thoroughly. Apply the sealant with a roller or sprayer, covering the entire driveway to ensure even protection.

