Are you tired of looking at your worn-out concrete driveway? If so, consider sealing it. Sealing your concrete driveway enhances its appearance and protects it from damage caused by weather conditions, oil spills, and other contaminants. In this article, we will guide you through sealing your concrete driveway, from understanding the importance of sealing to choosing the right sealant and applying it properly. So, grab your tools and get ready to transform your driveway into a durable and attractive surface that will last for years.
Sealing your concrete driveway is essential in maintaining its longevity and appearance. Over time, concrete can become cracked, faded, and vulnerable to damage from external factors. By sealing your driveway, you create a protective barrier that prevents moisture, chemicals, and other substances from seeping into the concrete and causing potential harm. Additionally, sealing your driveway can help to minimize the occurrence of cracks and extend its lifespan. With the right knowledge and tools, sealing your concrete driveway can be a relatively simple and cost-effective DIY project. So, let’s get started and learn how to give your driveway the care and protection it deserves.
Understanding the Importance of Sealing Your Driveway
Sealing your driveway is important for maintaining its strength and protection. It involves applying a protective layer to prevent damage from weather, oil spills, and regular wear and tear. Sealing creates a barrier that helps to maintain the driveway’s structural integrity and prolong its lifespan. One of the main benefits is that it resists the damaging effects of water, preventing weakening and cracking. Sealing also prevents the growth of mold and mildew by creating a barrier against moisture. It offers protection against oil spills and stains, making cleaning and maintaining the driveway’s appearance easier. Overall, sealing your concrete driveway is crucial for its longevity and appearance.
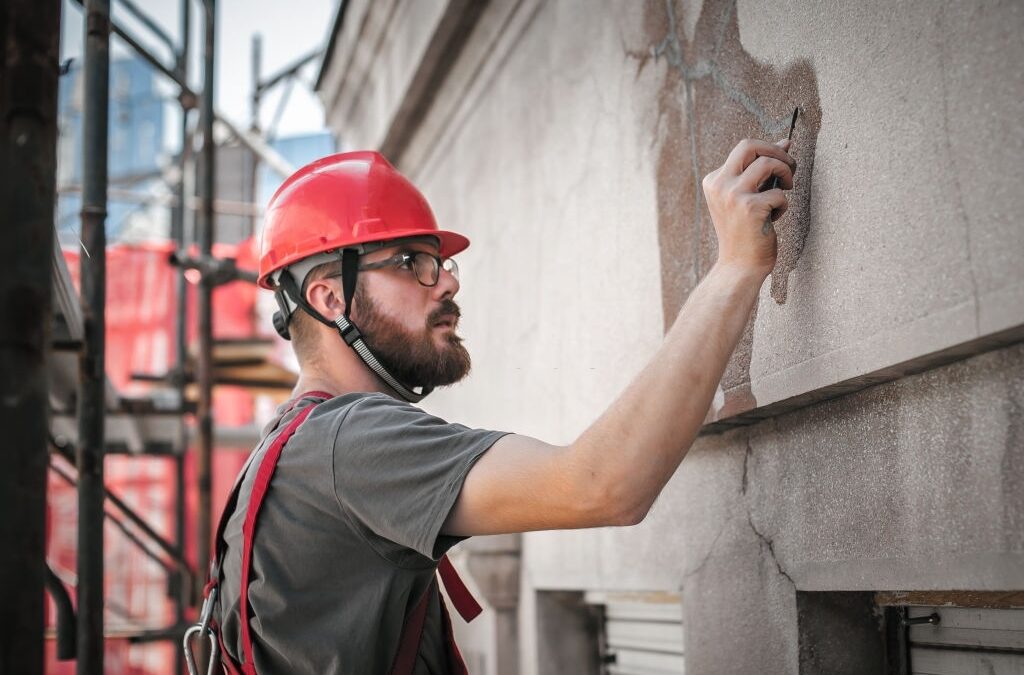
Preparing Your Concrete Surface for Sealing
Before sealing your concrete driveway, it is important to clean the surface thoroughly by removing any dirt, dust, or stains using a pressure washer or hose. Stubborn stains may require a degreaser or specialized concrete cleaner. Repair any cracks or damage by filling small cracks with a concrete crack filler and using a concrete patching compound for larger cracks or holes. Smooth out patched areas with a trowel and ensure that any expansion joints are intact. Properly preparing the surface will result in a longer-lasting and more effective seal for your driveway.
Choosing the Right Sealant for Your Driveway
When choosing a sealant for your driveway, it’s important to consider your surface’s specific needs and conditions. Acrylic sealants are durable and versatile, providing protection against water, UV rays, and chemicals. They are suitable for driveways exposed to heavy traffic and harsh weather conditions and give a glossy finish to the concrete. However, they may require reapplication every few years. On the other hand, penetrating sealants are ideal for driveways that experience freeze-thaw cycles or moisture issues. They offer strong protection against water, salt, and other contaminants without altering the appearance of the surface. They also require less frequent reapplication. Ultimately, the choice of sealant depends on your needs, budget, and maintenance commitment.
Applying the Sealant to Your Concrete Surface
To apply sealant to your concrete surface effectively:
- Clean the driveway thoroughly using a pressure washer or high-pressure hose.
- Allow the driveway to dry completely.
- Apply a thin coat of sealant using a brush or roller, covering all areas evenly.
- Apply multiple thin coats rather than one thick coat for better adhesion and prevention of cracking or peeling.
- Follow the manufacturer’s instructions for drying time and apply a second coat if necessary.
- Inspect for missed spots and touch up as needed.
- Follow the manufacturer’s instructions for drying time.
- Once fully dried, the driveway will be protected and have a fresh, clean appearance.
Maintaining and Re-Sealing Your Driveway
Maintaining and re-sealing your paved surface is crucial for its long-lasting beauty and durability. Here are some essential steps to follow:
- Regularly clean your driveway to remove dirt, debris, and stains using a pressure washer or hose with a high-pressure nozzle.
- For stubborn stains, use a mild detergent or specialized concrete cleaner.
- Allow the surface to dry completely before re-sealing.
- Choose a high-quality concrete sealer suitable for your driveway type.
- Follow the manufacturer’s instructions and apply an even coat of sealer using a brush or roller.
- Make sure to cover the entire surface, including edges, cracks, and joints.
- Allow the sealer to dry completely before applying a second coat if necessary.
- Repeat the re-sealing process every two to three years for optimal protection and appearance.
- Regular maintenance and re-sealing will save you money by preventing costly repairs and replacements.
By following these steps, you can maintain the beauty and durability of your driveway and protect it from damage caused by weather, chemicals, and wear and tear.
Sealing your concrete driveway is essential in maintaining its longevity and appearance. By preventing water damage, oil stains, and cracks, you can extend the lifespan of your driveway and save on costly repairs. Properly preparing your surface and choosing the right sealant is crucial in achieving the best results. Regular maintenance and re-sealing will ensure that your driveway remains protected and continues to look its best for years to come. Don’t overlook the importance of sealing your concrete driveway – invest the time and effort now to avoid future headaches and expenses.
A Reliable Contractor
As a leading concrete contractor in Michigan, Gatlinbyrd Cement is the trusted choice for all your concrete driveway sealing needs. Our experienced team of concrete experts has the knowledge and skills to transform the look and longevity of your driveway.
Whether your concrete driveway is showing signs of wear and tear or you simply want to enhance its appearance, our concrete company can guide you through the sealing process from start to finish. As a full-service concrete company, we offer a wide range of concrete services to meet all your needs. Together, we’ll ensure your driveway looks its best for years to come.
Frequently Asked Questions
Why is it necessary to seal a concrete driveway?
Sealing a concrete driveway is crucial for protecting it from weathering, stains, and wear. It prevents moisture from penetrating the concrete, which can lead to cracking, scaling, and other damage.
How often should I seal my concrete driveway?
Typically, it is recommended to reseal a concrete driveway every 2 to 3 years, depending on the type of sealant used and the level of exposure to traffic and weather conditions.
What are the best conditions for sealing a concrete driveway?
The ideal conditions are dry weather with temperatures ranging from 50°F to 90°F. Avoid sealing if rain is expected within 24 hours to ensure proper drying and curing.
What types of sealants are available for concrete driveways?
The two main types are acrylic-resin sealers and penetrating sealers. Acrylic-resin sealers form a protective film on the surface, while penetrating sealers absorb into the concrete to provide protection without changing the appearance.
Can I apply sealant to a new concrete driveway?
Yes, but it is generally recommended to wait at least 28 days after the concrete has been poured to ensure it is fully cured before applying sealant.
How do I prepare my driveway for sealing?
Start by thoroughly cleaning the driveway with a pressure washer to remove dirt, oil, and debris. Repair any cracks or damage with concrete filler or patch products.