Concrete floors are popular for homeowners because of their durability and low maintenance. However, over time, these floors can develop cracks and chips that need to be repaired. It is important to address these issues promptly to maintain the appearance and functionality of your concrete floor. Factors such as heavy traffic, moisture, and foundation settling can cause these damages. By learning how to recognize and repair these signs of damage, you can ensure your concrete floor remains strong and visually appealing for years.
Assessing the Damage
To assess the damage to your concrete floor, inspect it for cracks, chips, and deterioration. Note the size, depth, and location of each imperfection. Check for stability by listening for hollow or uneven sounds when walking across the floor. Pay attention to areas that feel hollow or sound different when tapped. If the concrete is sinking or settling, it may require professional intervention. Thoroughly assessing the damage will help determine the best repair approach, whether it’s filling cracks, resurfacing, or addressing structural issues.
Gathering the Necessary Tools and Materials
To repair a concrete floor, gather essential tools like a hammer, chisel, wire brush, trowel, and concrete patching compound. Also, get safety equipment such as goggles, gloves, and a dust mask. Gather materials like the patching compound, bonding agent, clean water, and a mixing container. By being prepared with these tools and materials, you can successfully repair your concrete floor.
Filling Small Cracks and Chips
To fix cracks and chips in a concrete floor, follow these steps:
- Clean the area thoroughly by sweeping or vacuuming to remove dust and debris.
- Choose a concrete patching compound or crack filler.
- Apply the compound or filler to the crack or chip using a trowel or putty knife.
- Press the material firmly into the crack or chip for a tight bond.
- Smooth out the surface and remove any excess material.
- Allow the patching compound or crack filler to dry completely before walking or placing any weight on the repaired area.
Patching Larger Cracks and Damaged Areas
To address larger cracks and damaged areas in concrete floors:
- Clean the area thoroughly to remove loose debris or dust.
- Dampen the crack or damaged area with water to improve bonding.
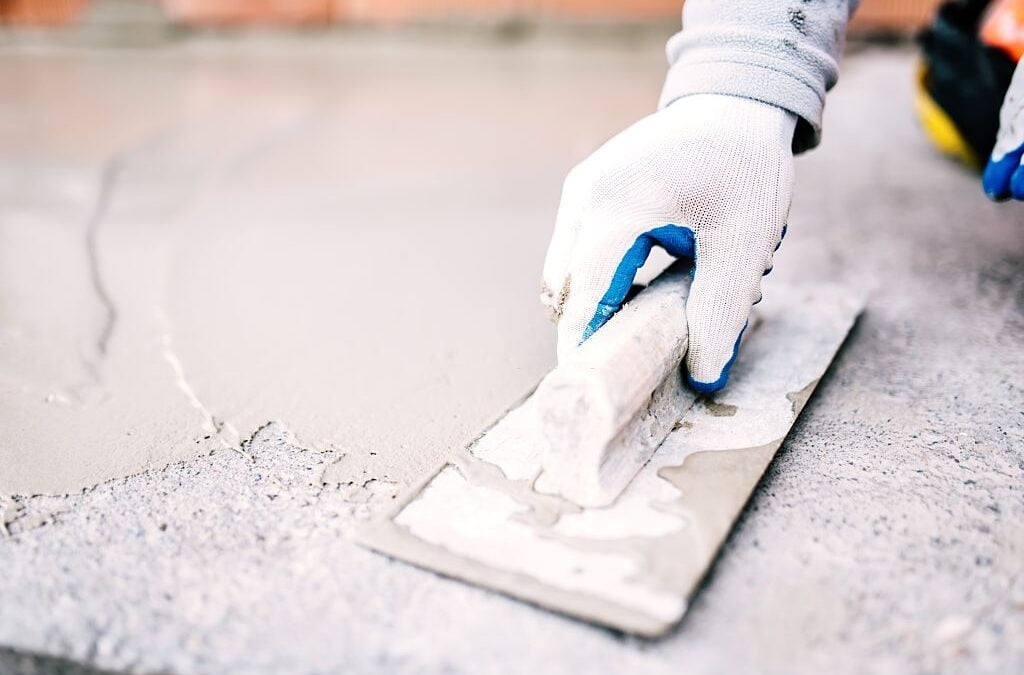
- Apply a high-quality patching compound, following the manufacturer’s instructions.
- Trowel the compound tightly into the crack or damaged area, ensuring it fills the space.
- Smooth out the compound using a trowel or putty knife, making it level with the surrounding concrete.
- Work quickly as the compound dries and hardens fast.
- Sand down the dried compound for a smooth finish.
- Paint or seal the concrete floor, if desired.
By using a quality patching compound and following proper application techniques, larger cracks and damaged areas can be effectively repaired in concrete floors.
Finishing and Sealing the Repaired Concrete Floor
Patch cracks and damaged areas. Smooth out uneven spots with a grinder or sandpaper. Apply a concrete sealer to protect against moisture and stains. Clean the repaired area before applying the sealer. Use a brush or roller to apply the sealer and follow instructions for coats and drying time. Allow the sealer to cure before using the floor.
Overall, repairing a concrete floor is a doable DIY project if you have the right tools and materials. Assess the extent of the damage before starting the repair. Small cracks and chips can be filled with concrete patching compound, while larger cracks may require a more extensive patching process. Finish and seal the repaired floor for longevity. DIY repairs can save time and money compared to hiring a professional. Take necessary precautions for safety. With patience and the right approach, you can restore your concrete floor’s functionality and appearance for years to come.
Restore Your Concrete Floors with Gatlinbyrd Cement
If you’re in need of expert concrete services in Michigan, look no further than Gatlinbyrd Cement. Our team of experienced concrete contractors has the knowledge and skills to tackle even the most challenging floor issues, from minor cracks and chips to extensive damage. We understand the importance of maintaining a durable, attractive concrete surface, which is why we take a meticulous approach to every repair project. Whether you need help with filling cracks, resurfacing a damaged area, or addressing structural problems, we’re here to provide a lasting solution. Let our concrete company restore the beauty and integrity of your concrete floors.
Frequently Asked Questions
What are the common signs that my concrete floor needs repair?
Look for visible cracks, chips, uneven areas, or signs of sinking. Hollow sounds when tapped and visible deterioration are also key indicators that repair is needed.
What tools will I need to repair a concrete floor?
Essential tools include a hammer, chisel, wire brush, trowel, putty knife, and concrete patching compound. Safety gear such as goggles, gloves, and a dust mask are also important.
Can I repair a cracked concrete floor myself or should I hire a professional?
Minor cracks and chips can generally be repaired DIY using the right tools and materials. Larger, structural issues or extensive damage might require professional assessment and intervention.
How do I prepare a concrete floor before repairing it?
Clean the area thoroughly by removing all debris and dust. For better bonding, dampen the area slightly before applying any patching compound.
What type of concrete patching compound should I use for small cracks?
For small cracks and chips, a standard concrete patching compound or crack filler will suffice. These are readily available at hardware stores.
How long does it take for a patching compound to dry?
Drying times can vary depending on the product, but typically, a concrete patching compound takes about 24 hours to dry completely. Always check the manufacturer’s instructions for specific drying times.