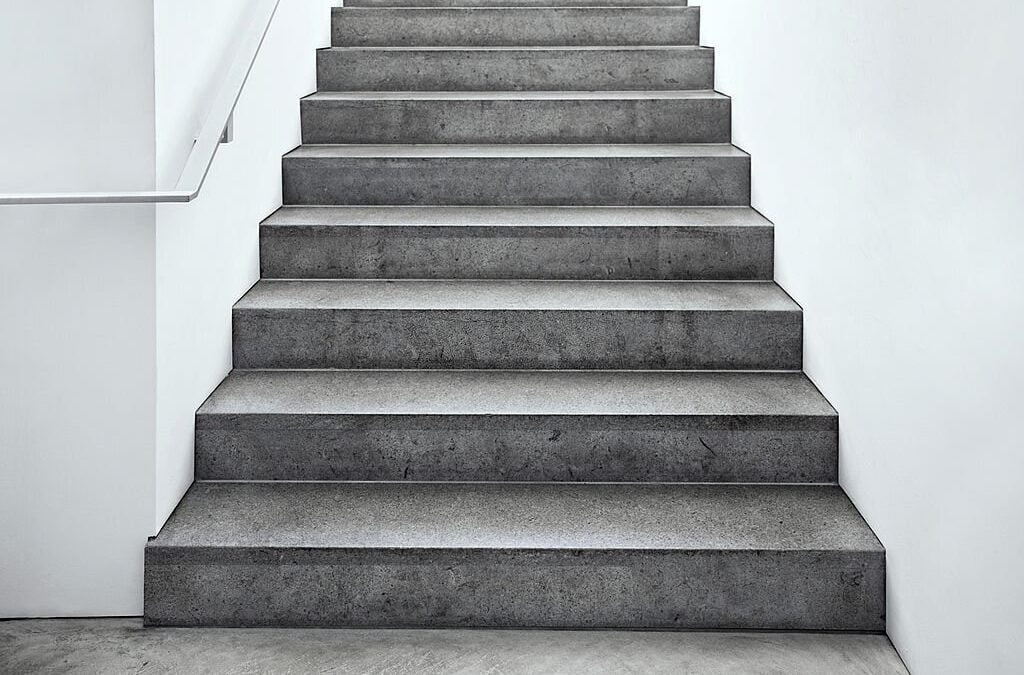
Concrete steps are a durable and functional addition to any property, but over time, they can develop cracks, chips, or other forms of damage due to wear and weather conditions.
Fortunately, you don’t always need to replace the entire staircase. With the right tools, materials, and a bit of patience, you can repair concrete steps and restore them to their former glory. In this replacing cement steps guide, we’ll take you through the process of repairing concrete steps.
Step 1: Safety First
Before you start any repair work, ensure your safety by wearing appropriate personal protective equipment (PPE), including gloves, safety goggles, and a dust mask. For replacing cement steps, clear the area around the steps and make sure you have all the necessary tools and materials.
Step 2: Assess the Damage
Inspect the concrete steps to identify the extent of the damage. Are there cracks, chips, or areas of spalling (surface deterioration)? Understanding the type and severity of the damage will help you determine the right repair approach.
Step 3: Clean the Surface
Use a wire brush or a stiff-bristle brush to remove loose debris, dirt, and any loose or chipped concrete from the damaged areas. A pressure washer can also be helpful in thoroughly cleaning the surface and replacing cement steps with precision. Allow the steps to dry completely before proceeding.
Step 4: Repair Cracks and Holes
For small cracks and holes, use a concrete patching compound. Mix the compound according to the manufacturer’s instructions and apply it to the damaged areas with a trowel. Smooth the surface using the trowel’s edge and ensure the patch is level with the surrounding concrete. For larger cracks, consider using epoxy or a concrete filler designed for deeper repairs.
Step 5: Address Spalled Areas
If you’re dealing with surface spalling, where the top layer of concrete is flaking off, consider resurfacing the steps. Mix a concrete resurfacer according to the manufacturer’s instructions, then apply a thin layer over the entire step surface. Use a trowel to spread and level the resurfacer. This not only repairs the damaged surface but also gives the steps a fresh, uniform appearance.
Step 6: Cure and Protect
After applying any patches or resurfacing materials, cover the repaired areas with plastic sheeting or a curing compound to slow down the drying process. This helps prevent cracking and ensures a strong bond. Follow the manufacturer’s recommendations for curing times.
Step 7: Seal the Steps
To protect your repaired concrete steps from moisture, freeze-thaw cycles, and general wear, consider applying a concrete sealer. Choose a sealer that’s suitable for outdoor use and follow the application instructions. Sealing your steps can extend their lifespan and maintain their appearance.
Step 8: Regular Maintenance
To prevent future damage, maintain your concrete steps regularly. Keep them clean by sweeping away debris and washing them with water. Address any minor issues promptly before they worsen.
Important Tips:
- Matching the Color: If appearance is important, make sure the repair materials match the color of your existing concrete. Some products come in various shades to achieve a closer match.
- Temperature Considerations: Be mindful of the temperature when performing concrete repairs. Extreme heat or cold can affect curing times and the quality of the repair.
- DIY vs. Professional Help: While minor repairs can be done by DIY enthusiasts, more extensive damage or structural issues might require professional assistance from concrete contractors in & near Ypsilanti.
- Safety: When working with concrete materials, follow safety guidelines, especially when using chemicals or power tools.
In conclusion, replacing cement steps and repairing concrete steps is a manageable task with the right approach. By assessing the damage, choosing the appropriate repair materials, and following the steps outlined in this guide, you can restore your concrete steps and ensure they continue to serve you well for years to come.
You can also ask a reliable concrete company to help you with the concrete repairs you might need for replacing cement steps. Our concrete services are designed based on your needs and budget in order to provide the best experience.
Frequently Asked Questions
What common issues affect concrete steps?
Common issues include cracking, chipping, spalling (surface deterioration), and discoloration, often caused by weather exposure, wear and tear, and structural settling.
Can all types of damage to concrete steps be repaired?
Most minor to moderate damages such as small cracks, chips, and surface spalling can be repaired. Extensive structural damage may require partial or complete replacement of the steps.
What is the best time of year to repair concrete steps?
The best time is during mild weather conditions, typically in spring or fall. Avoid extreme temperatures which can affect the curing process of repair materials.
How do I prepare the surface of concrete steps for repair?
Clean the steps thoroughly using a wire brush or a pressure washer to remove all debris, dirt, and loose concrete. Ensure the steps are completely dry before applying any repair materials.
What materials are needed to repair cracks in concrete steps?
For small cracks, use a concrete patching compound or masonry crack filler. For larger cracks, a more robust material like epoxy or a thicker concrete patch might be necessary.
How do I handle deep or wide cracks in concrete steps?
Deep or wide cracks may require an initial filling with sand or gravel before applying a repair compound to ensure stability and to minimize the amount of patching material needed.